42" Gas Fireplace - True 42, Monroe
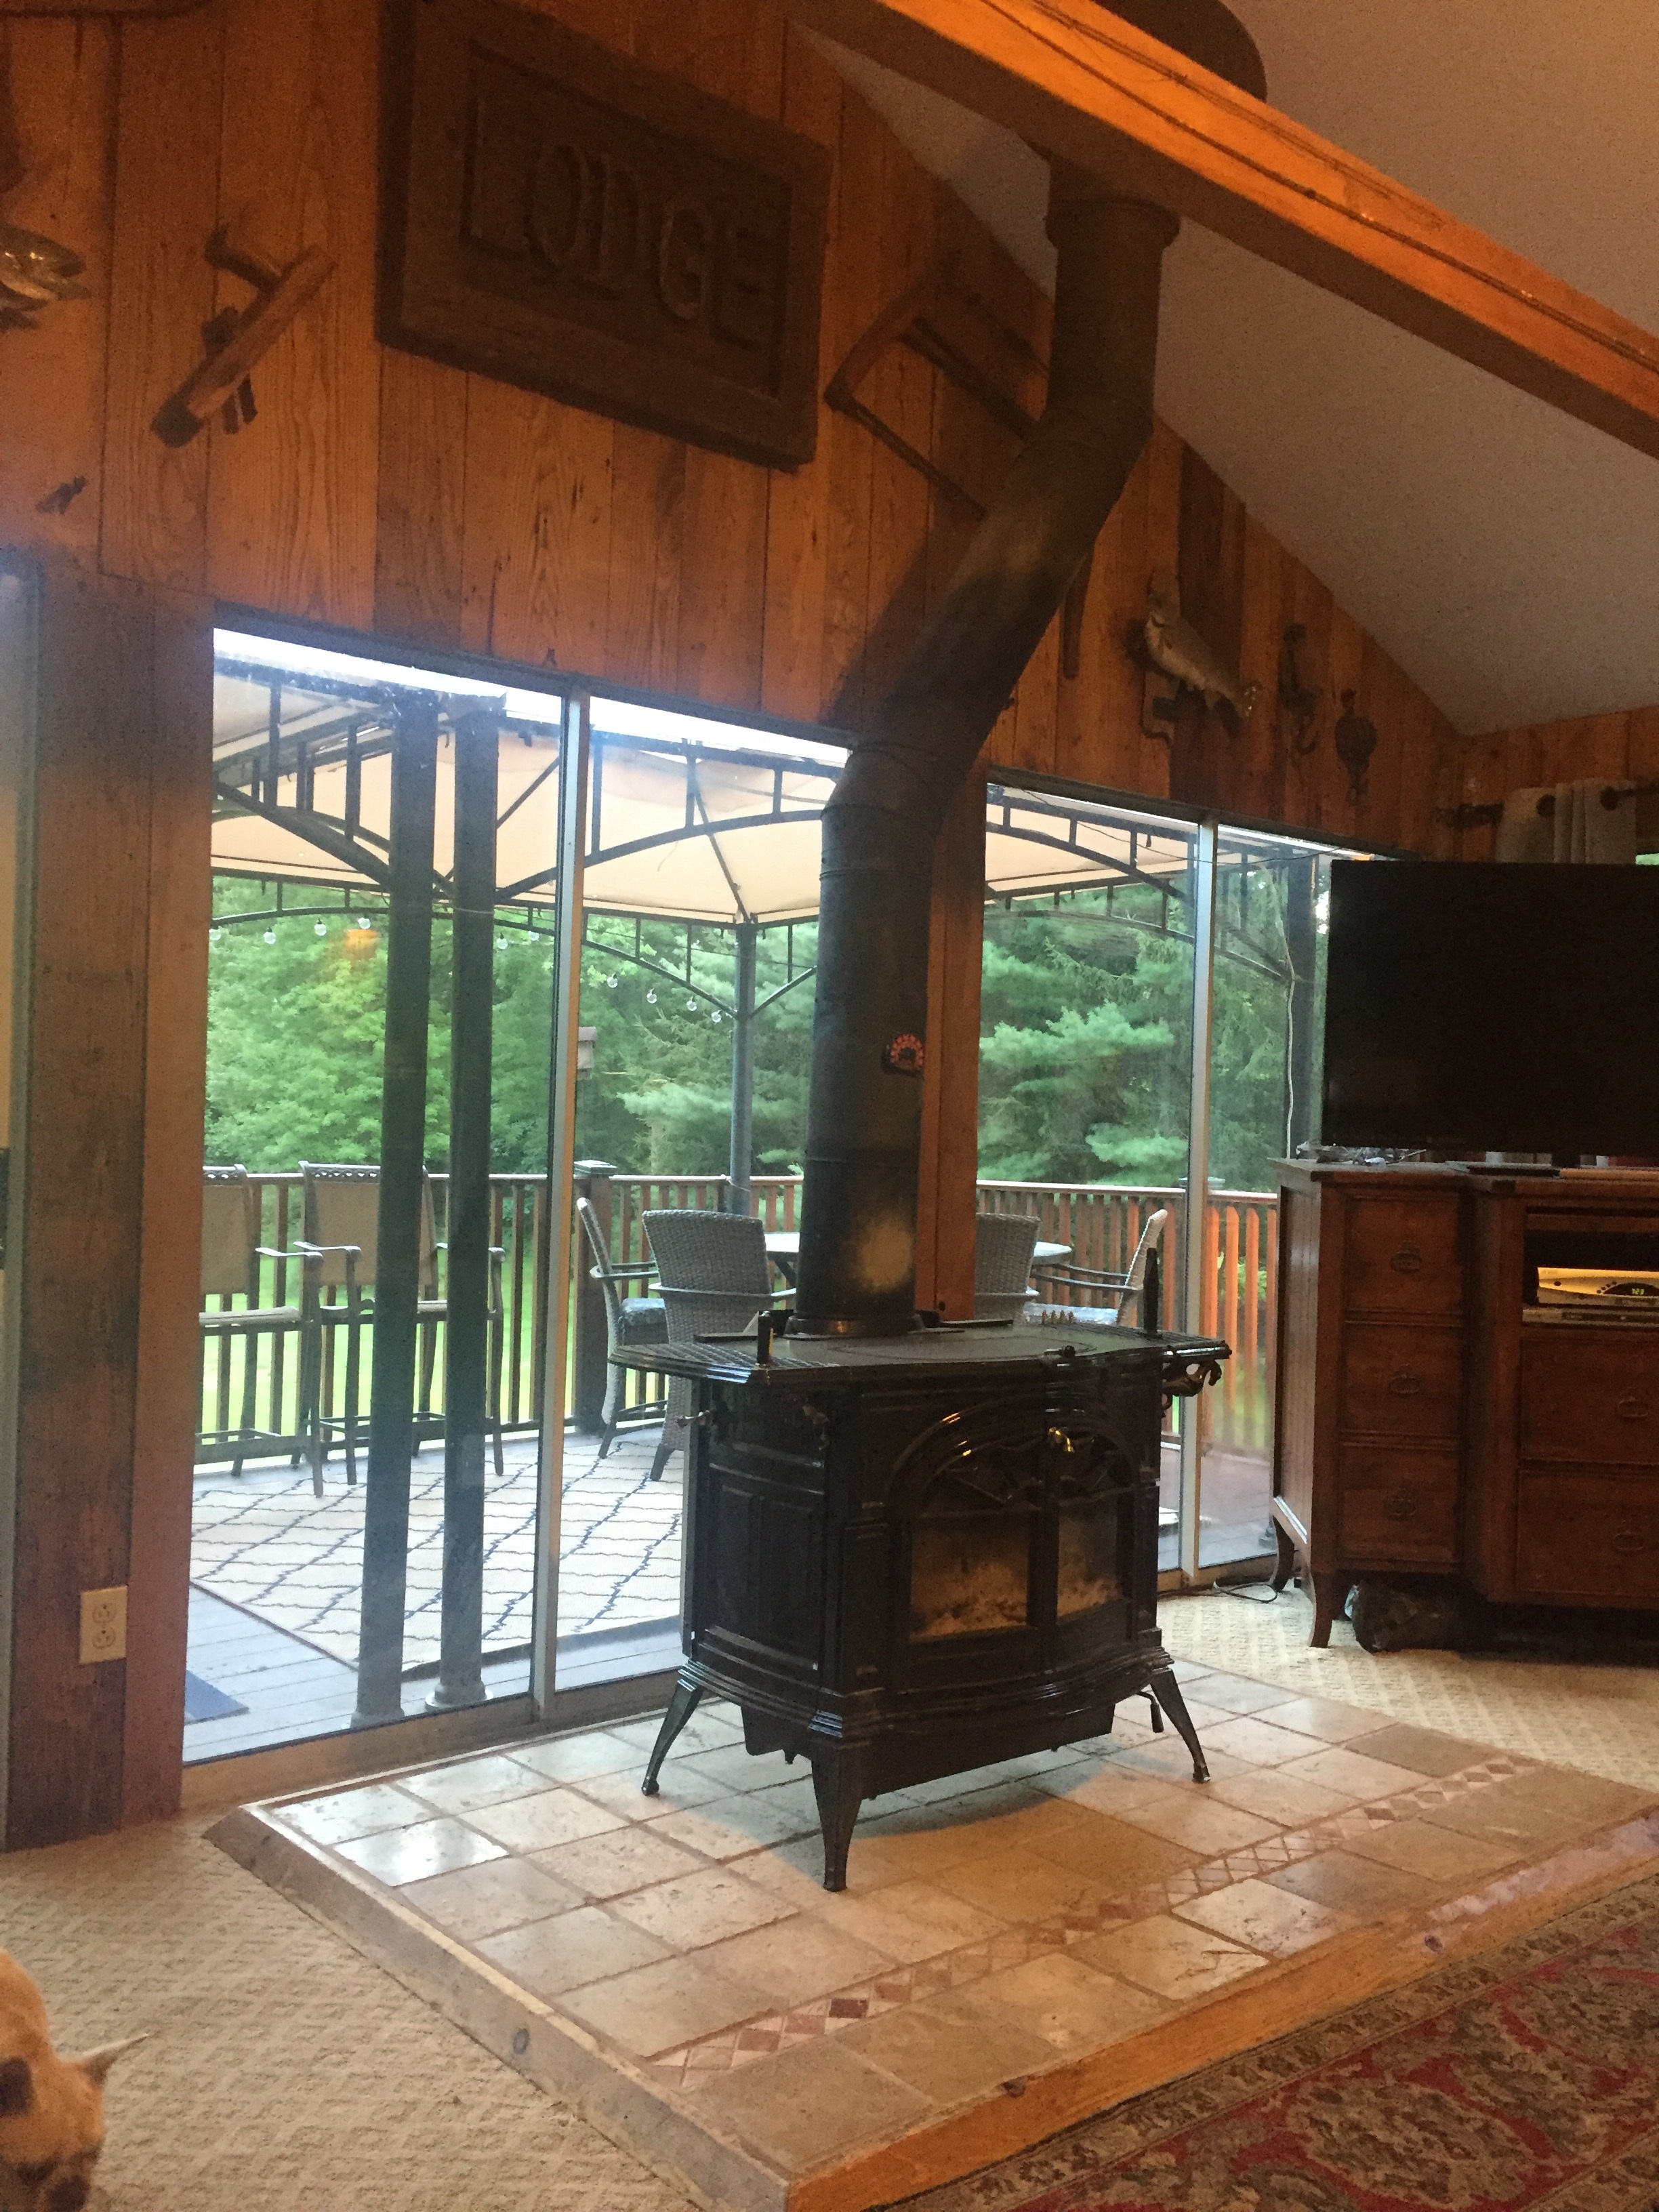
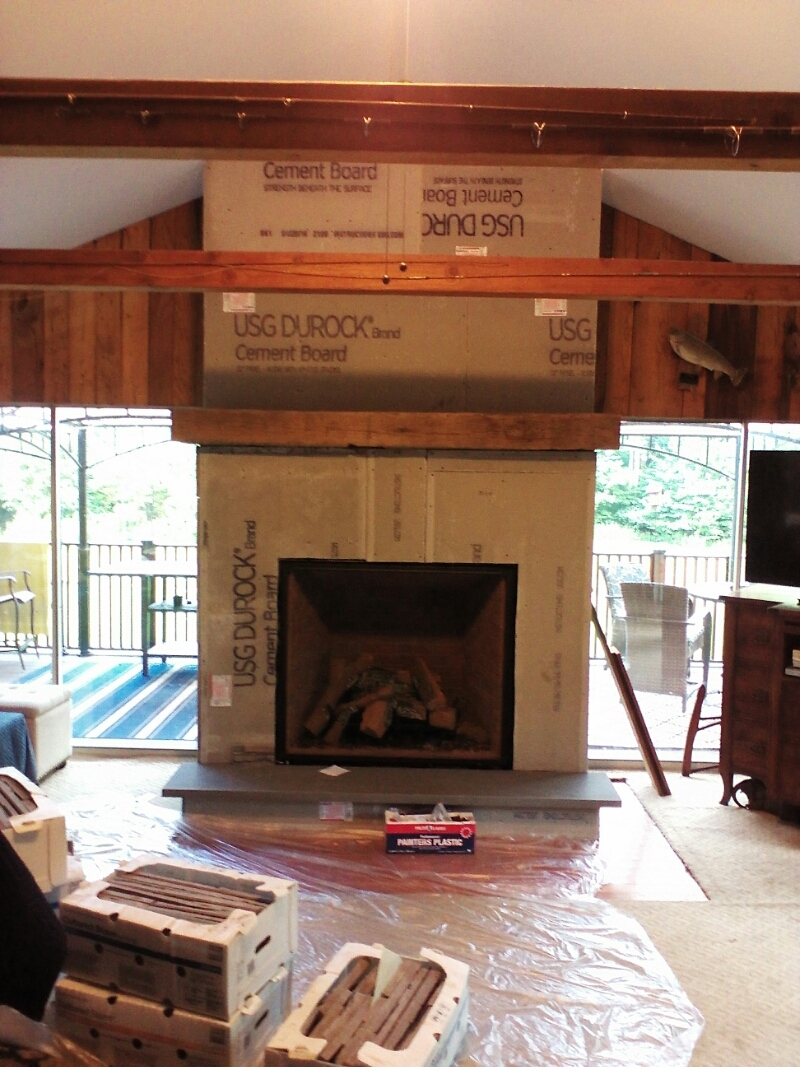
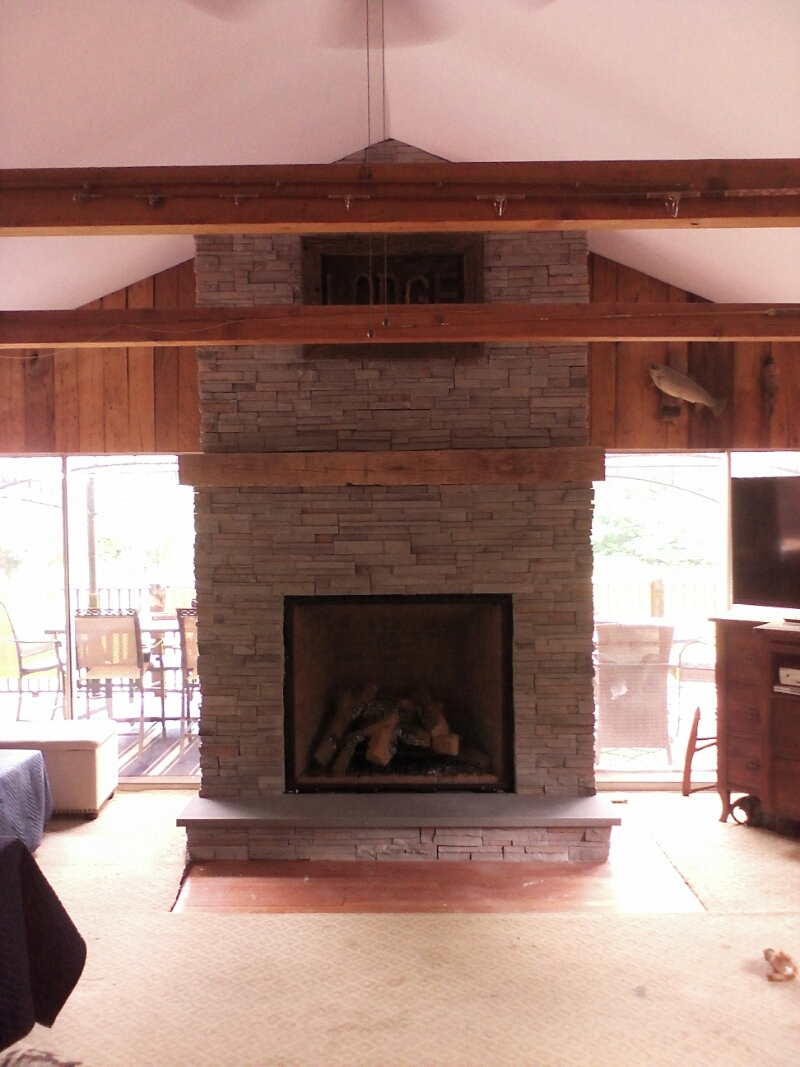
Customer had a wood burning stove that they wanted to replace with a gas burning fireplace. They had a wall of sliding glass doors one of which would need to be removed in order to fit the True 42.
 |
 |
 |
Step 1Remove wood burning stove and a set of glass doors to accommodate the gas burning fireplace. |
Step 2Framing, venting and the unit put in place with the sheet rock, wood beam mantel and blue stone hearth put in place. |
FinalStone work both around the fireplace as well as under the hearth completed to make for a finished project. |
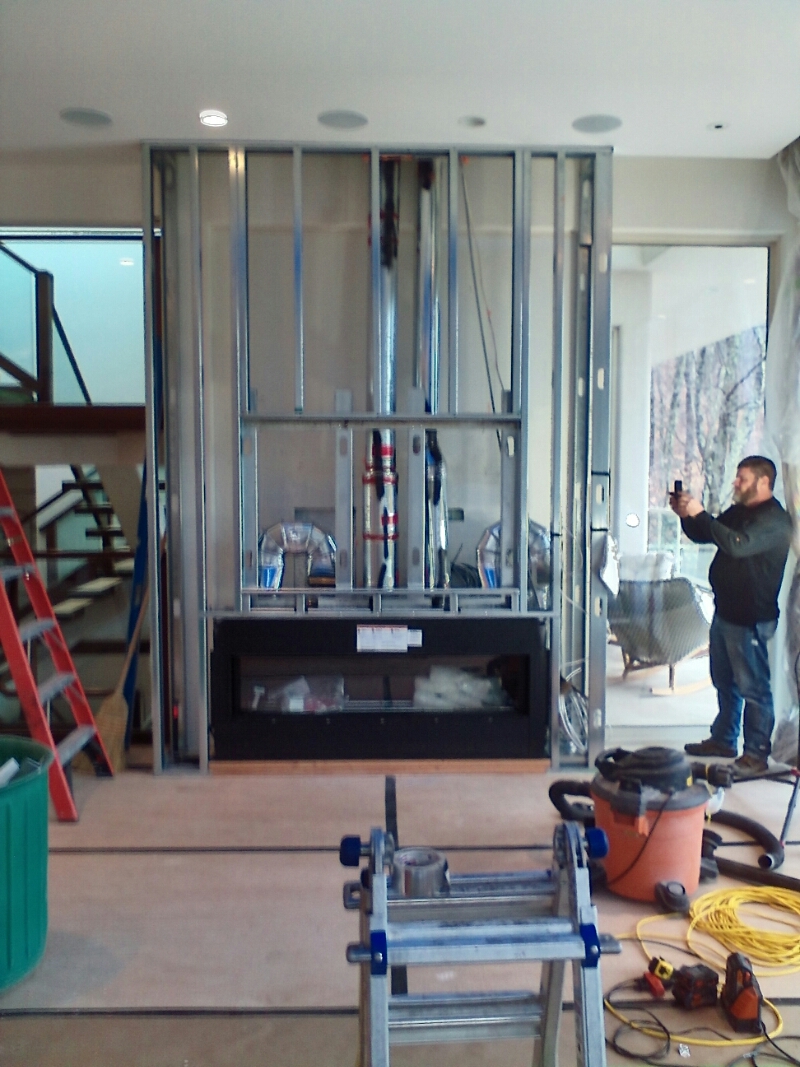
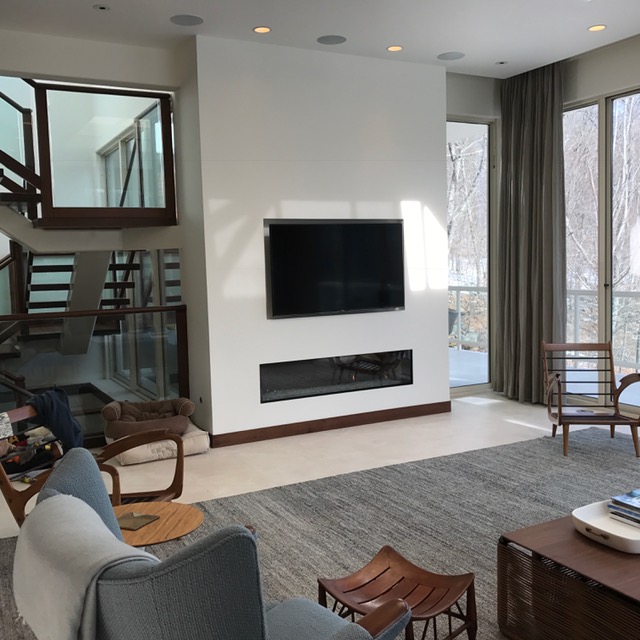
60" Liner Gas Fireplace - Primo 60, Bridgwater
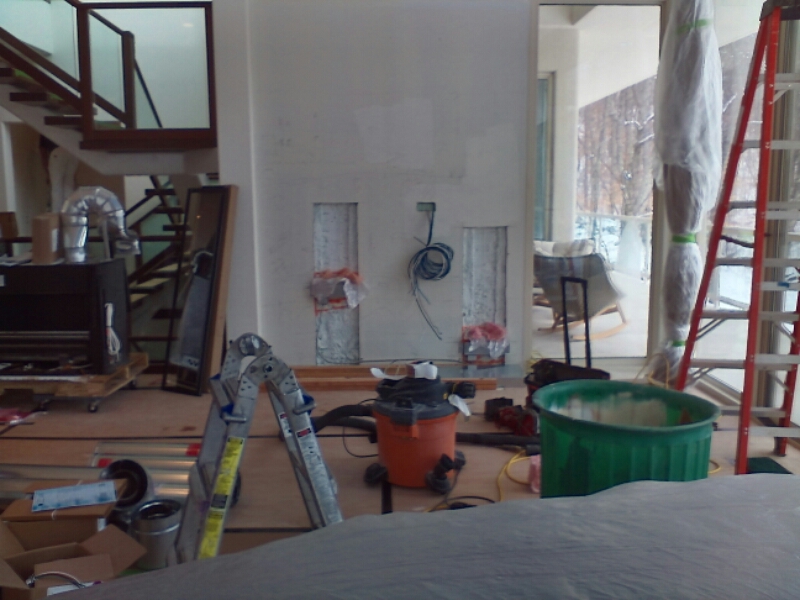
Customer wanted to add a modern gas fireplace to their living space and be able to add a TV above it.
 |
 |
 |
Step 1Preparing the wall with electrical outlets and area for the unit with venting. |
Step 2Unit, venting and framing for the sheet rock put in place. |
FinalUnit installed, sheet rock and paint completed with the TV hung for a completed project. |
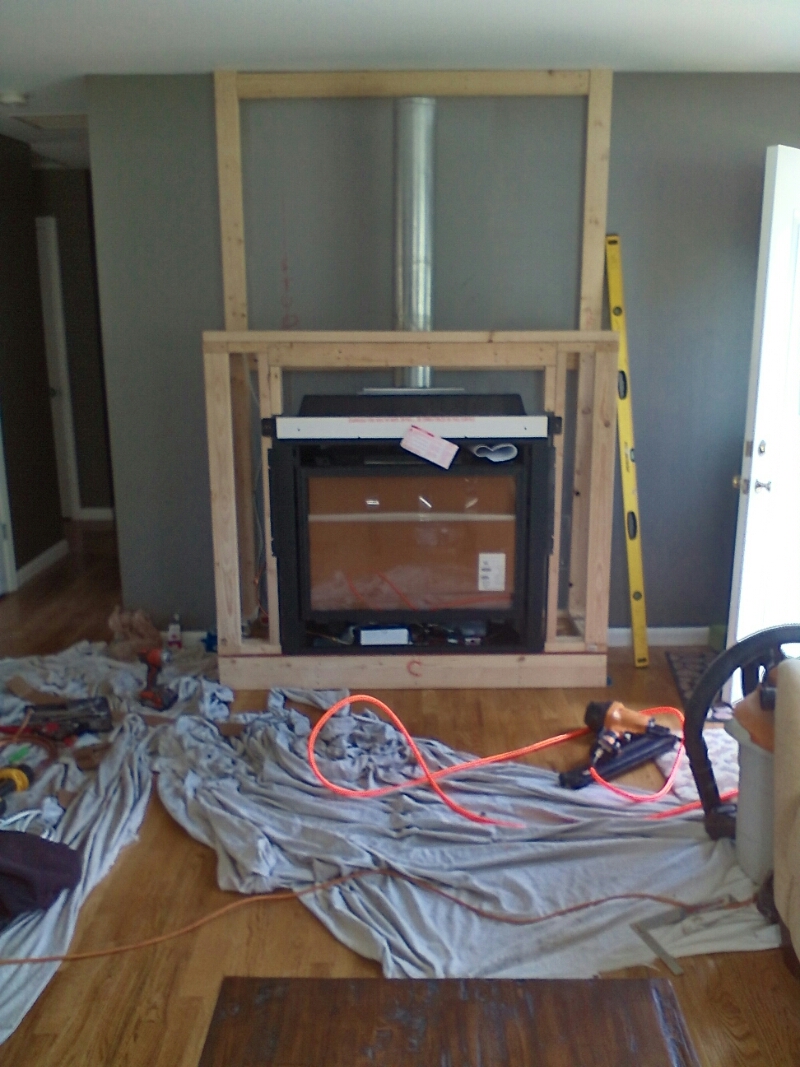
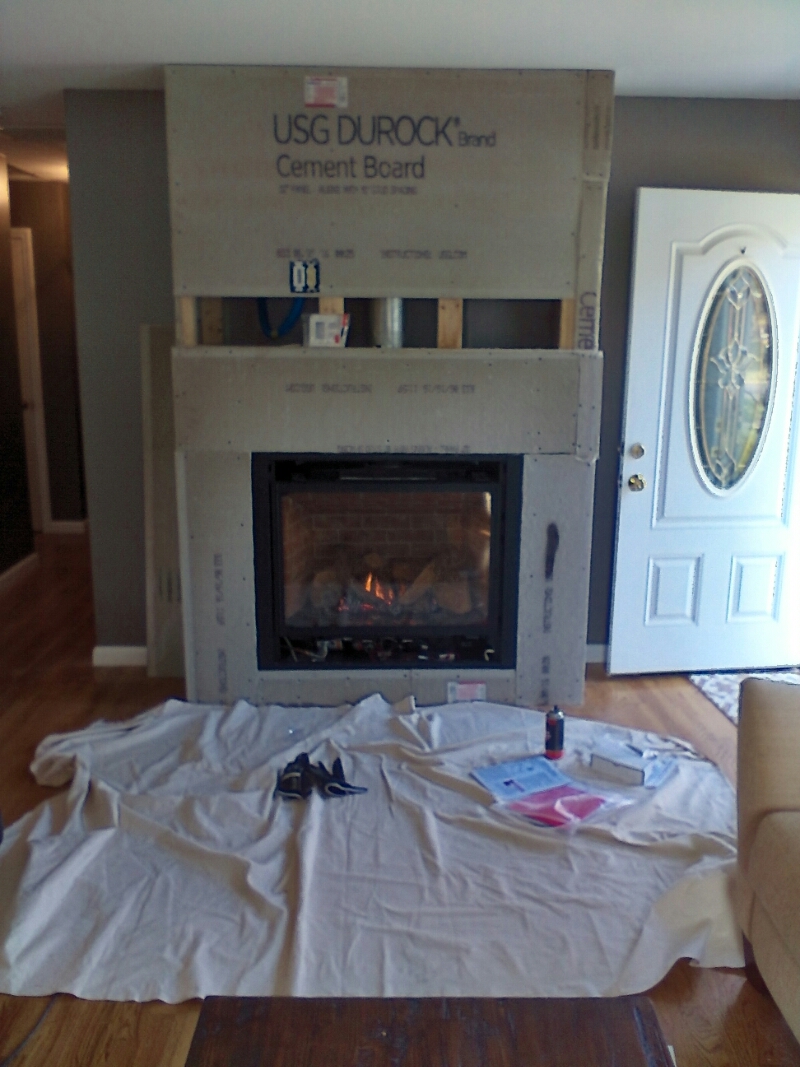
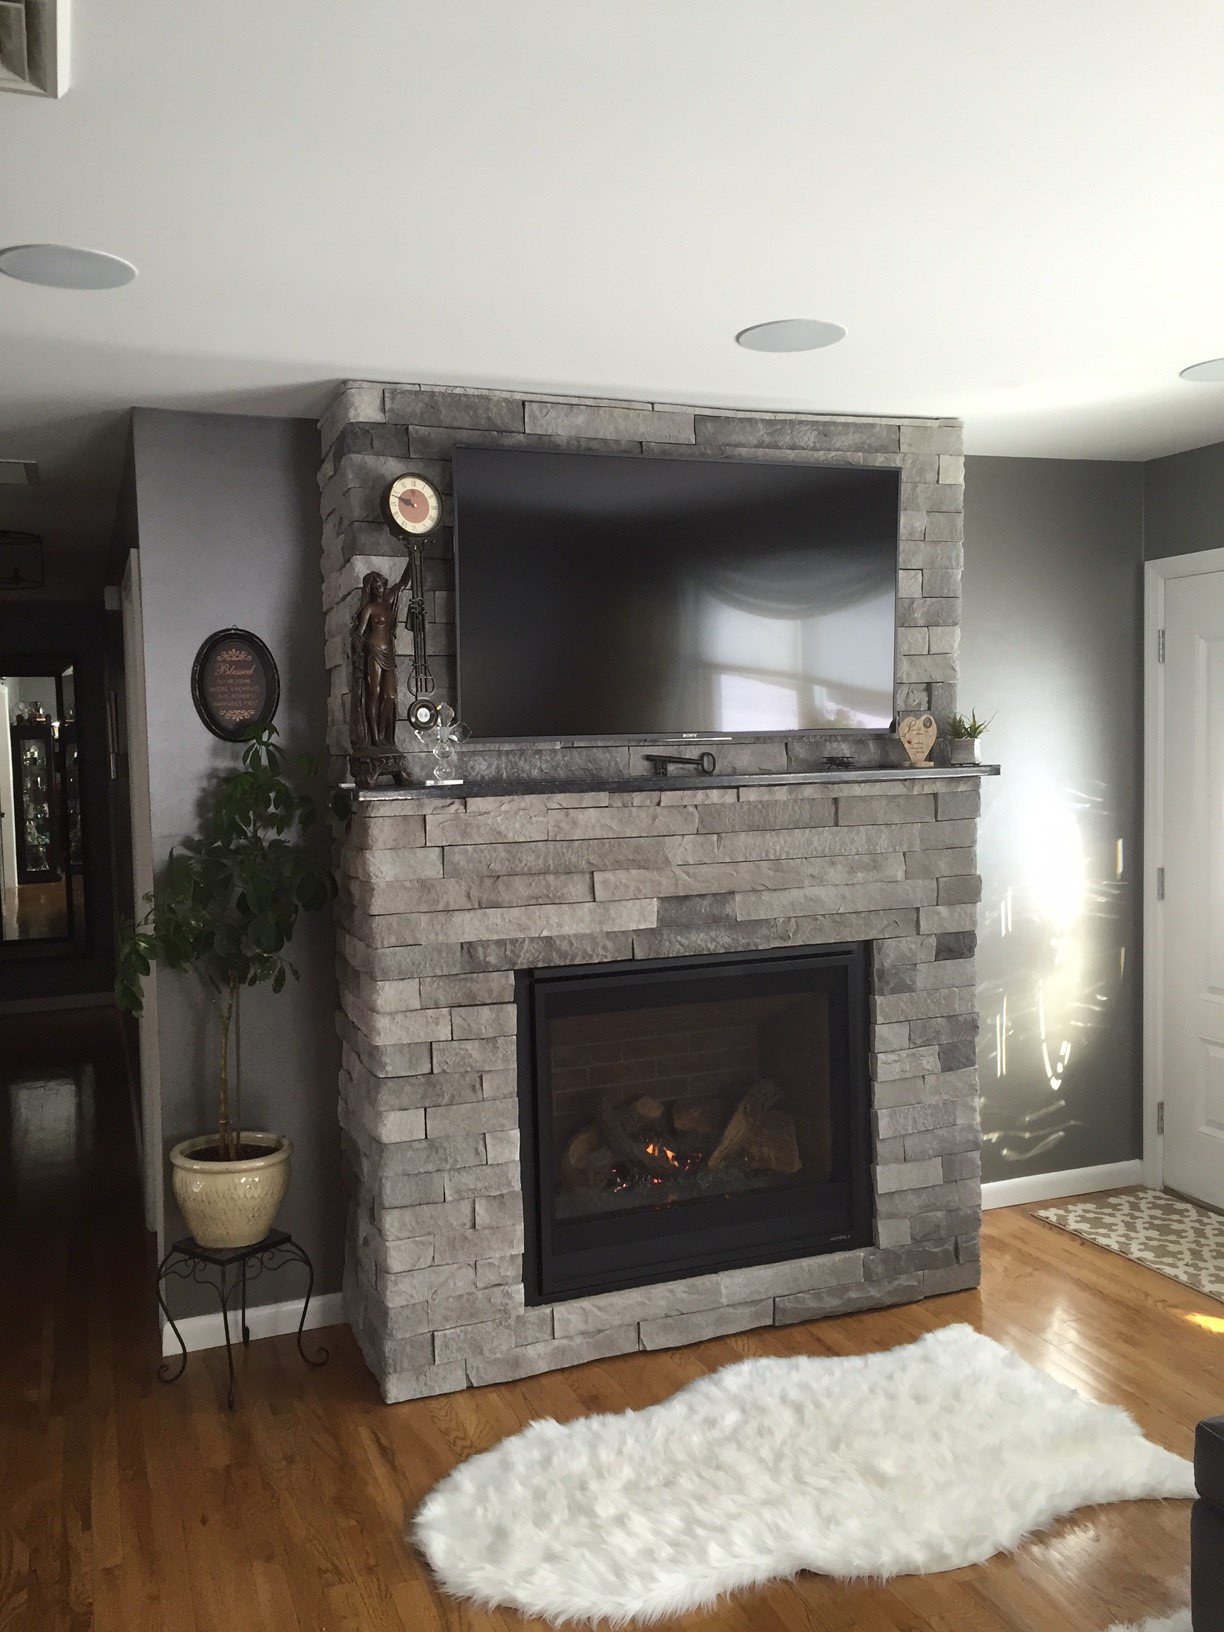
36" Gas Fireplace - Slimline 7x, Brookfield
Customer wanted to add a efficient gas fireplace with a small footprint to their living room.
 |
 |
 |
Step 1Unit with required venting installed while framing for the wall started. |
Step 2Framing completed and sheet rock started with room to add a mantel. |
FinalStone work finished with a mantel and TV added for a completed project. |
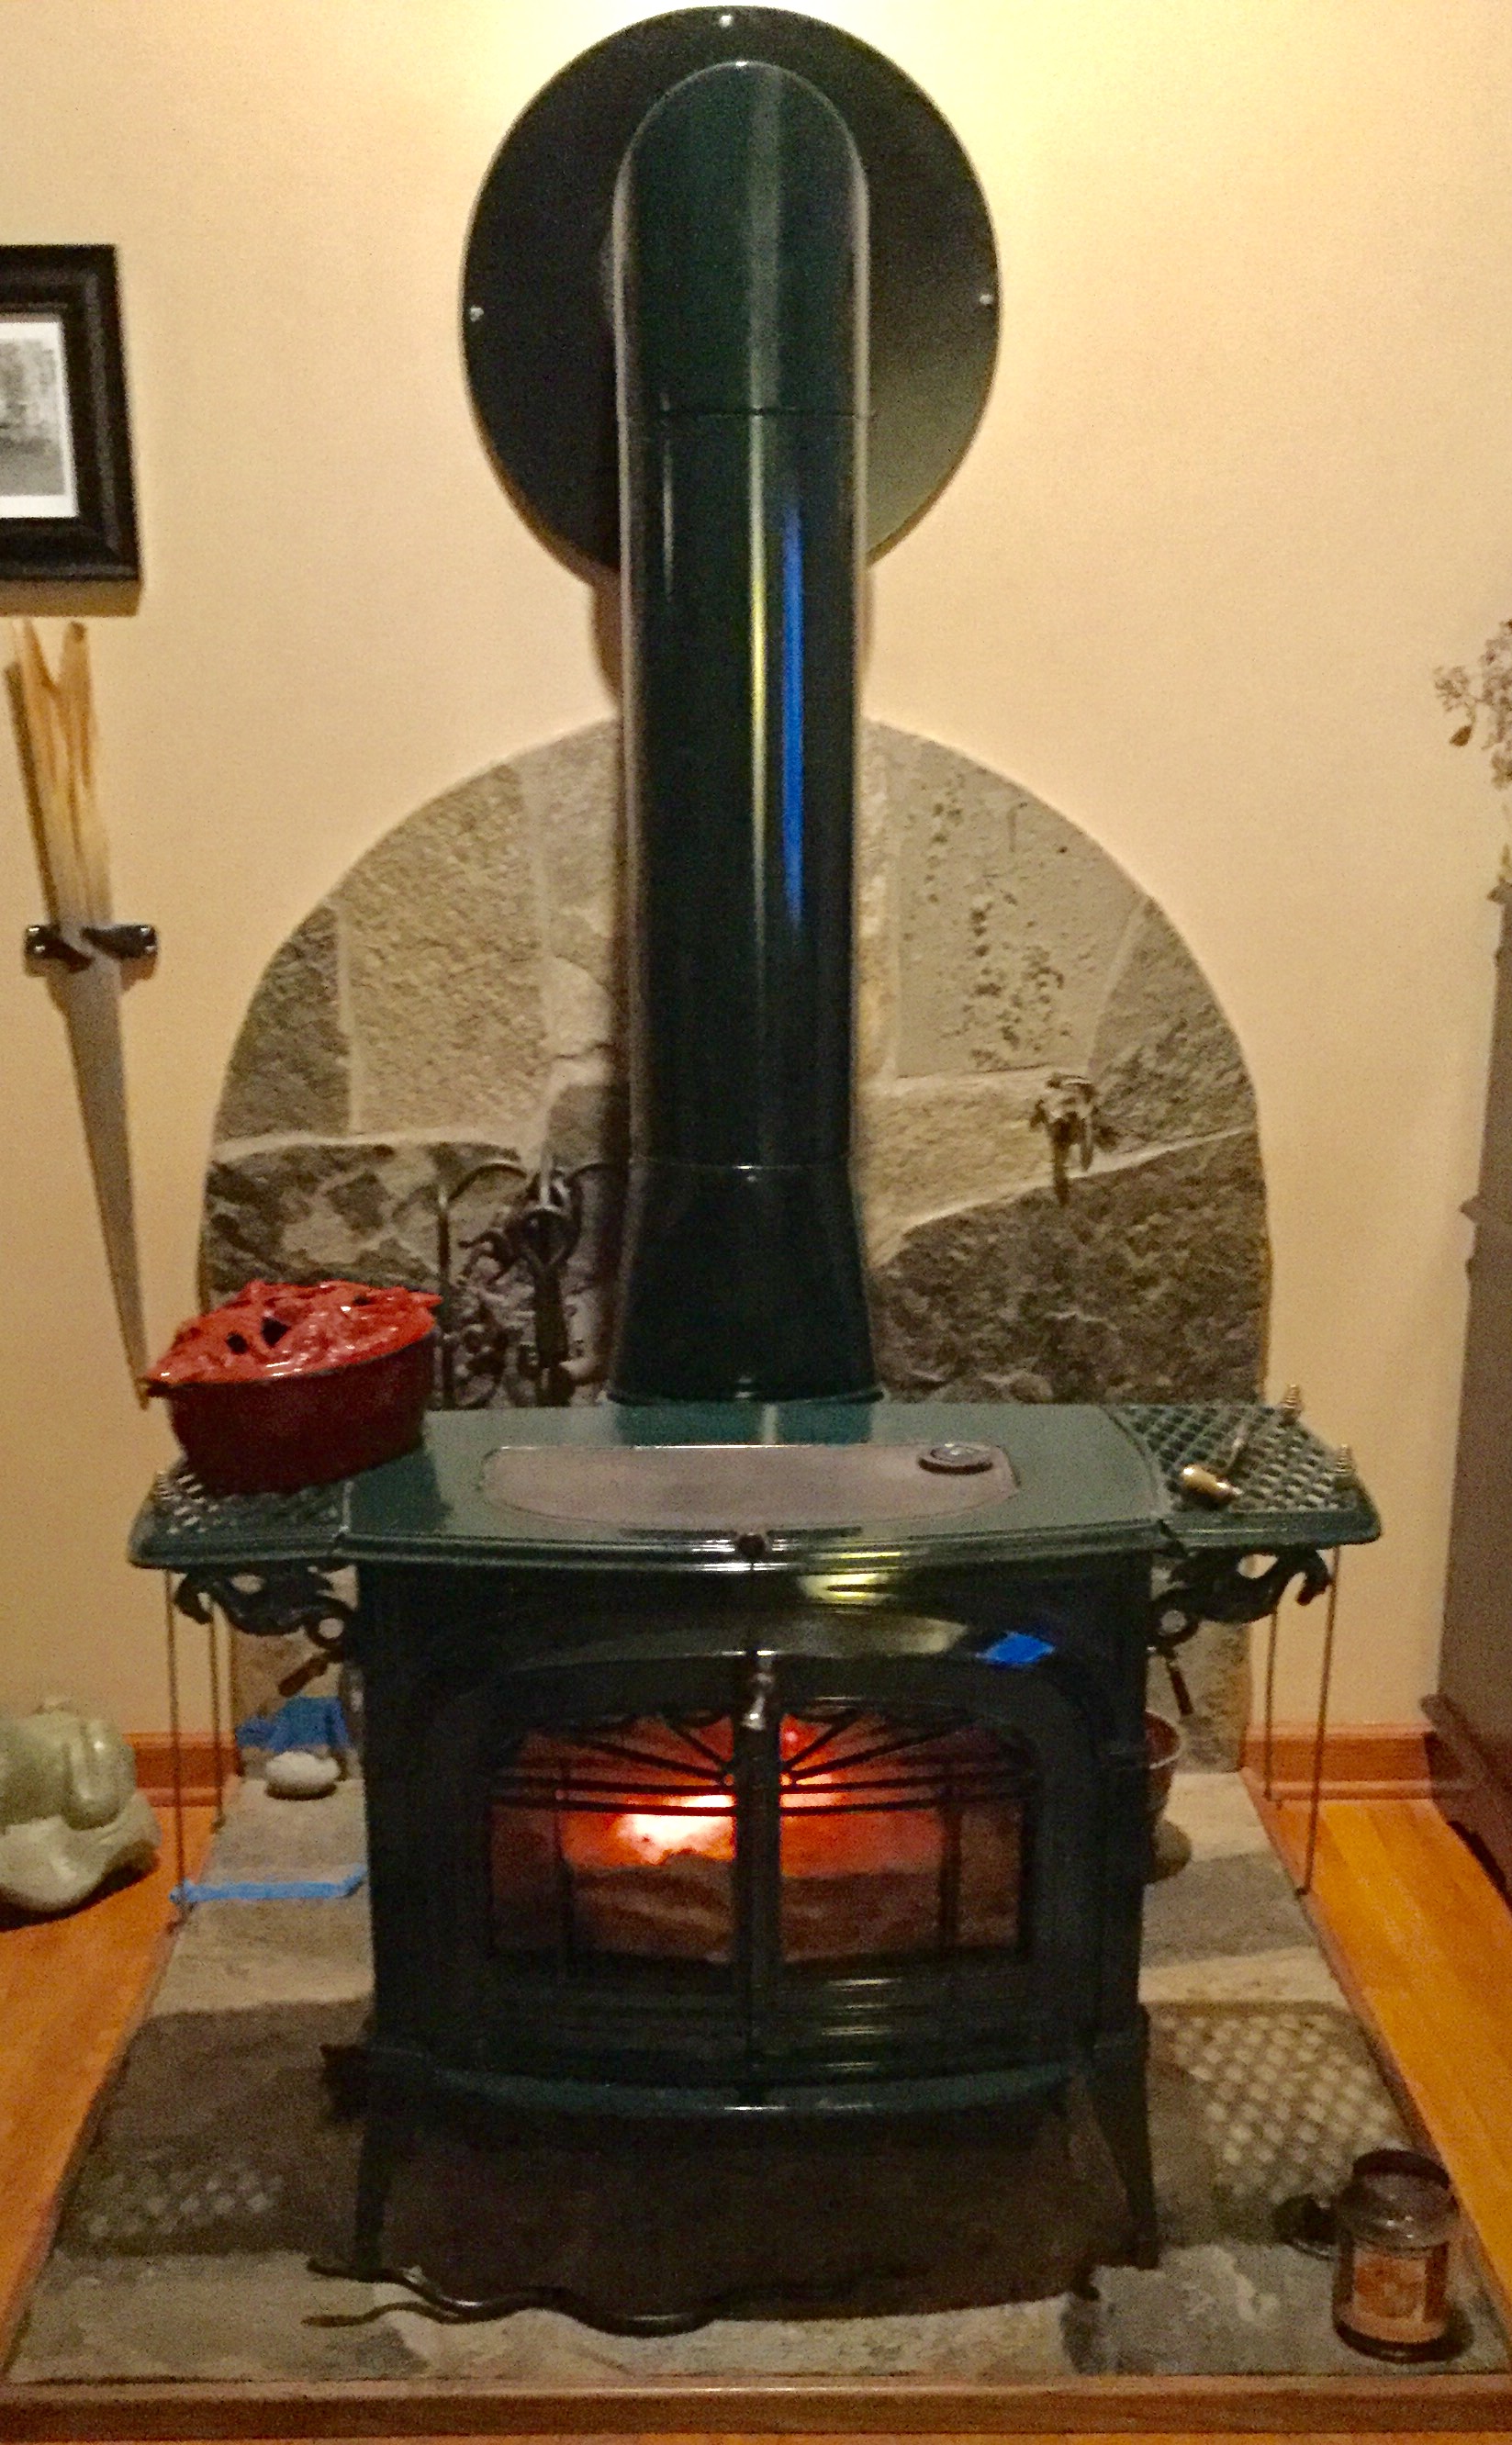
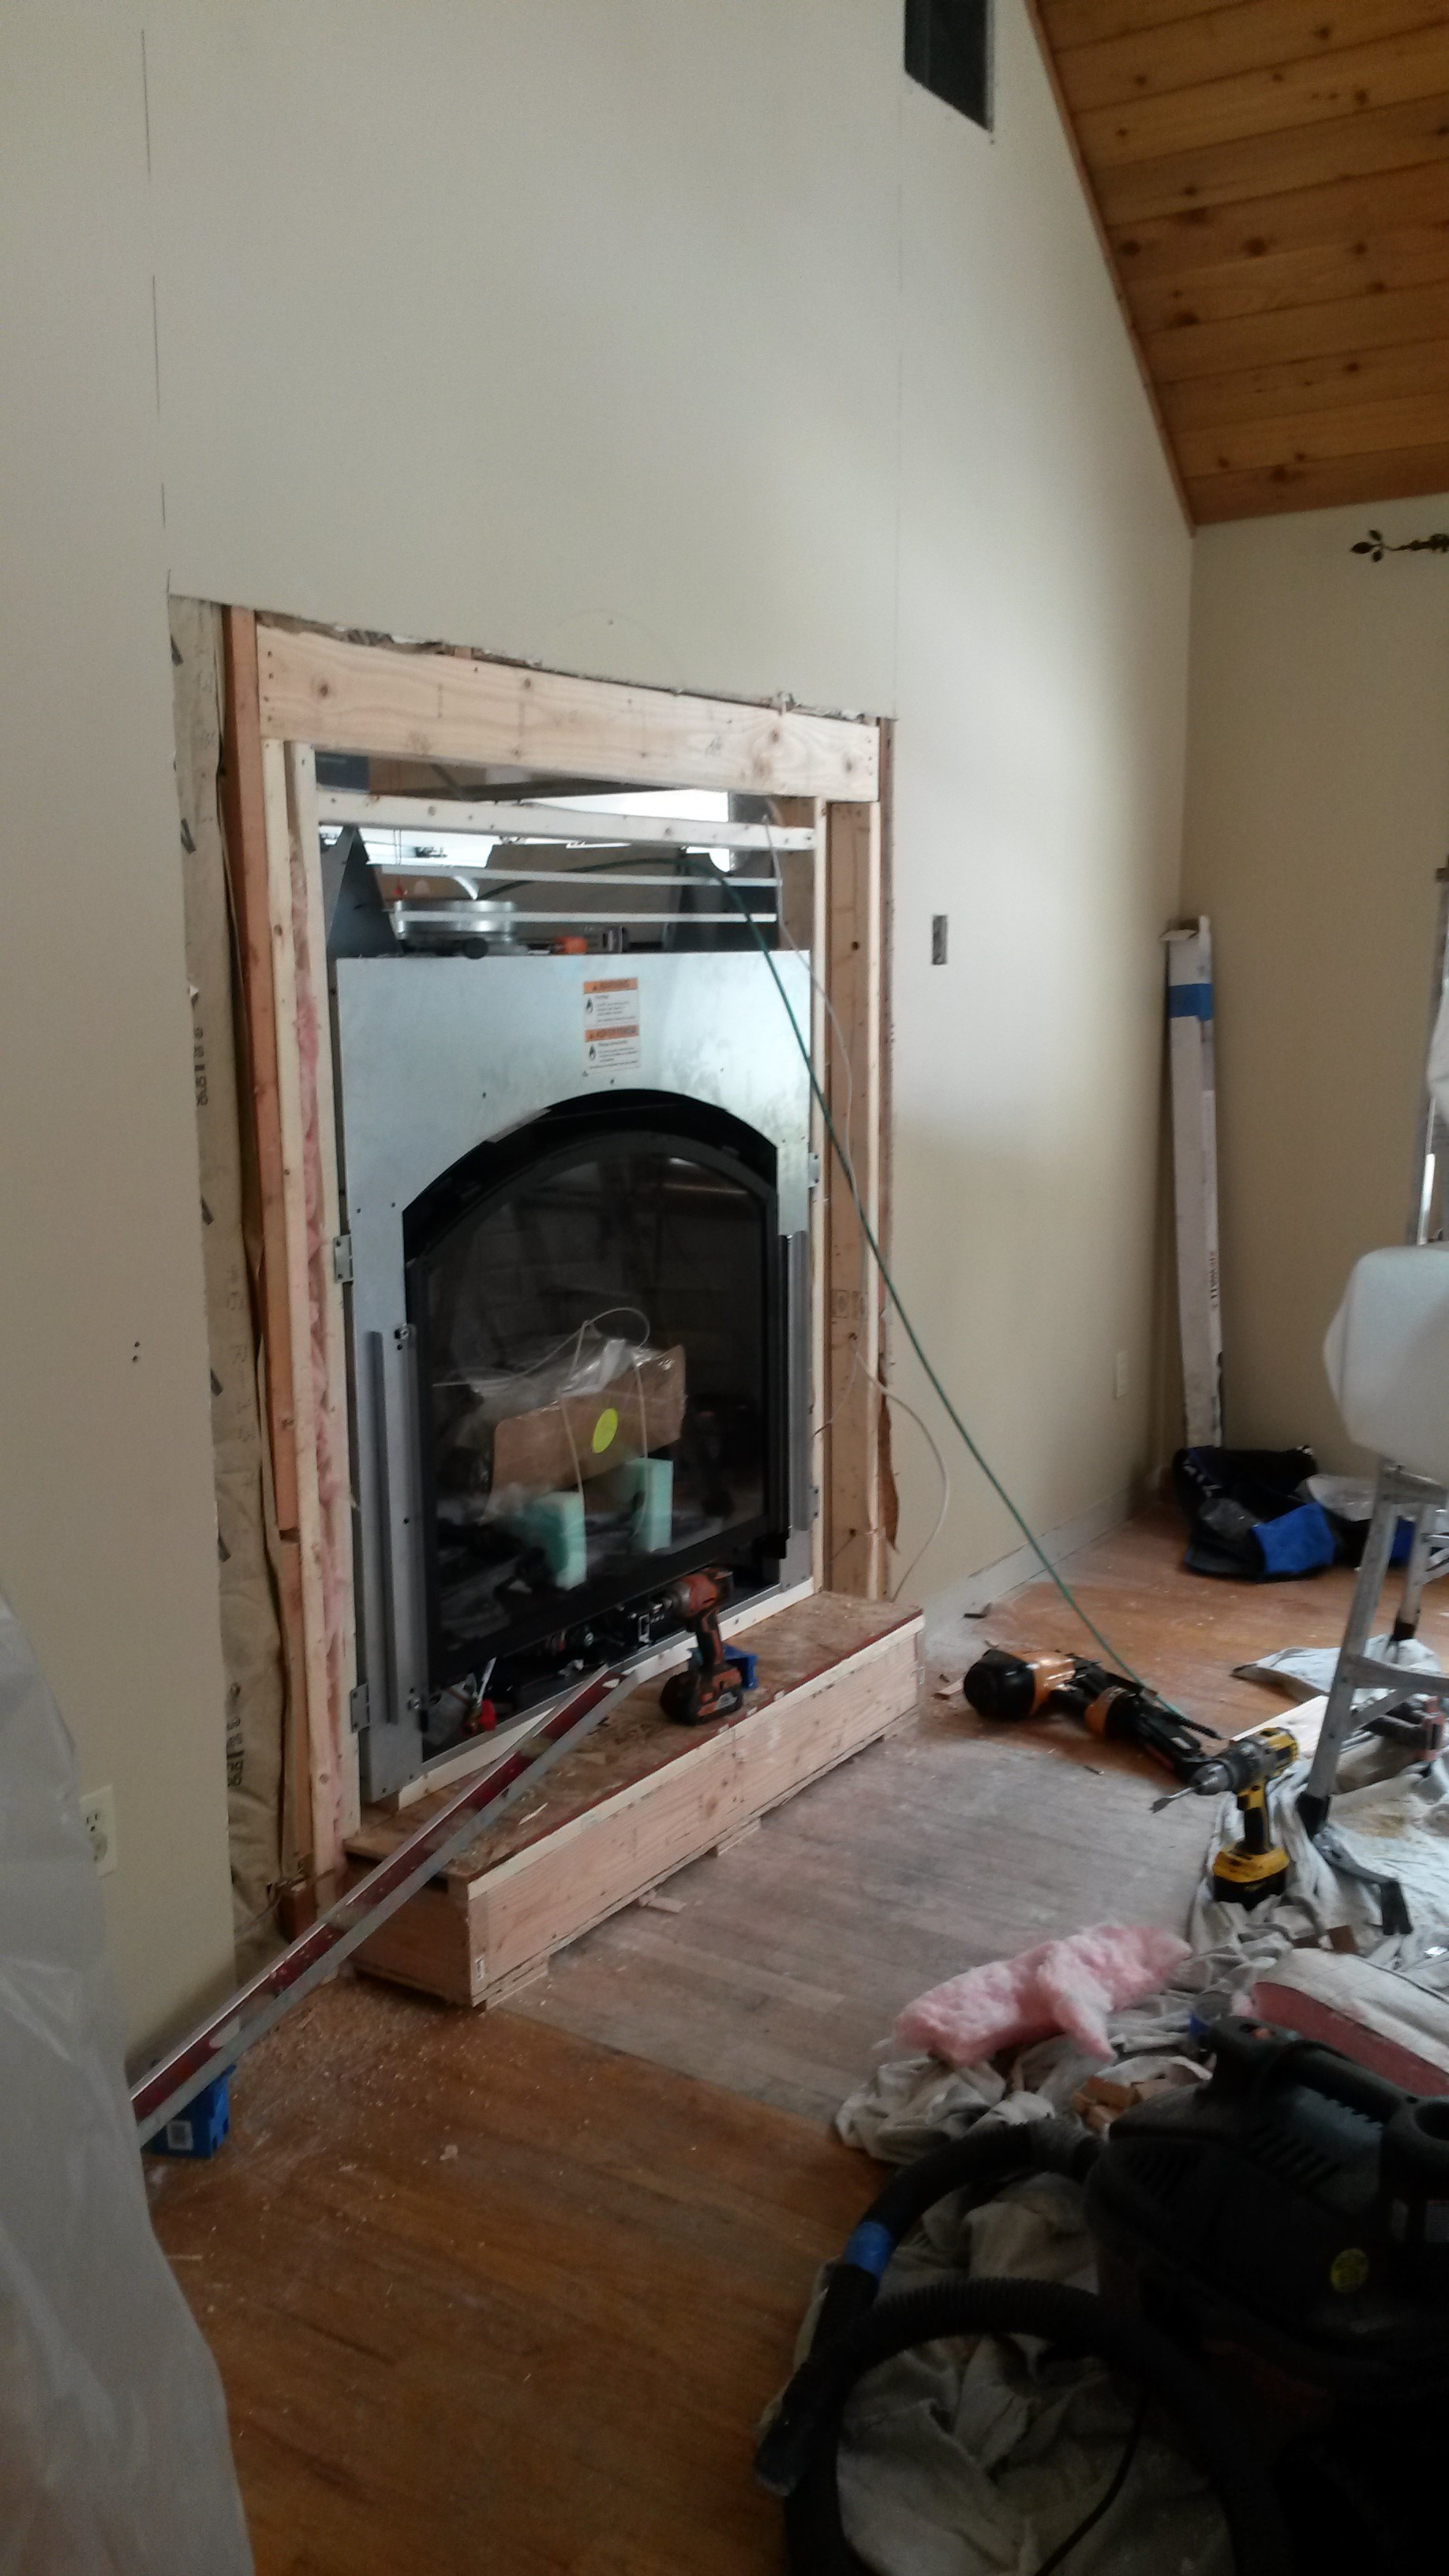
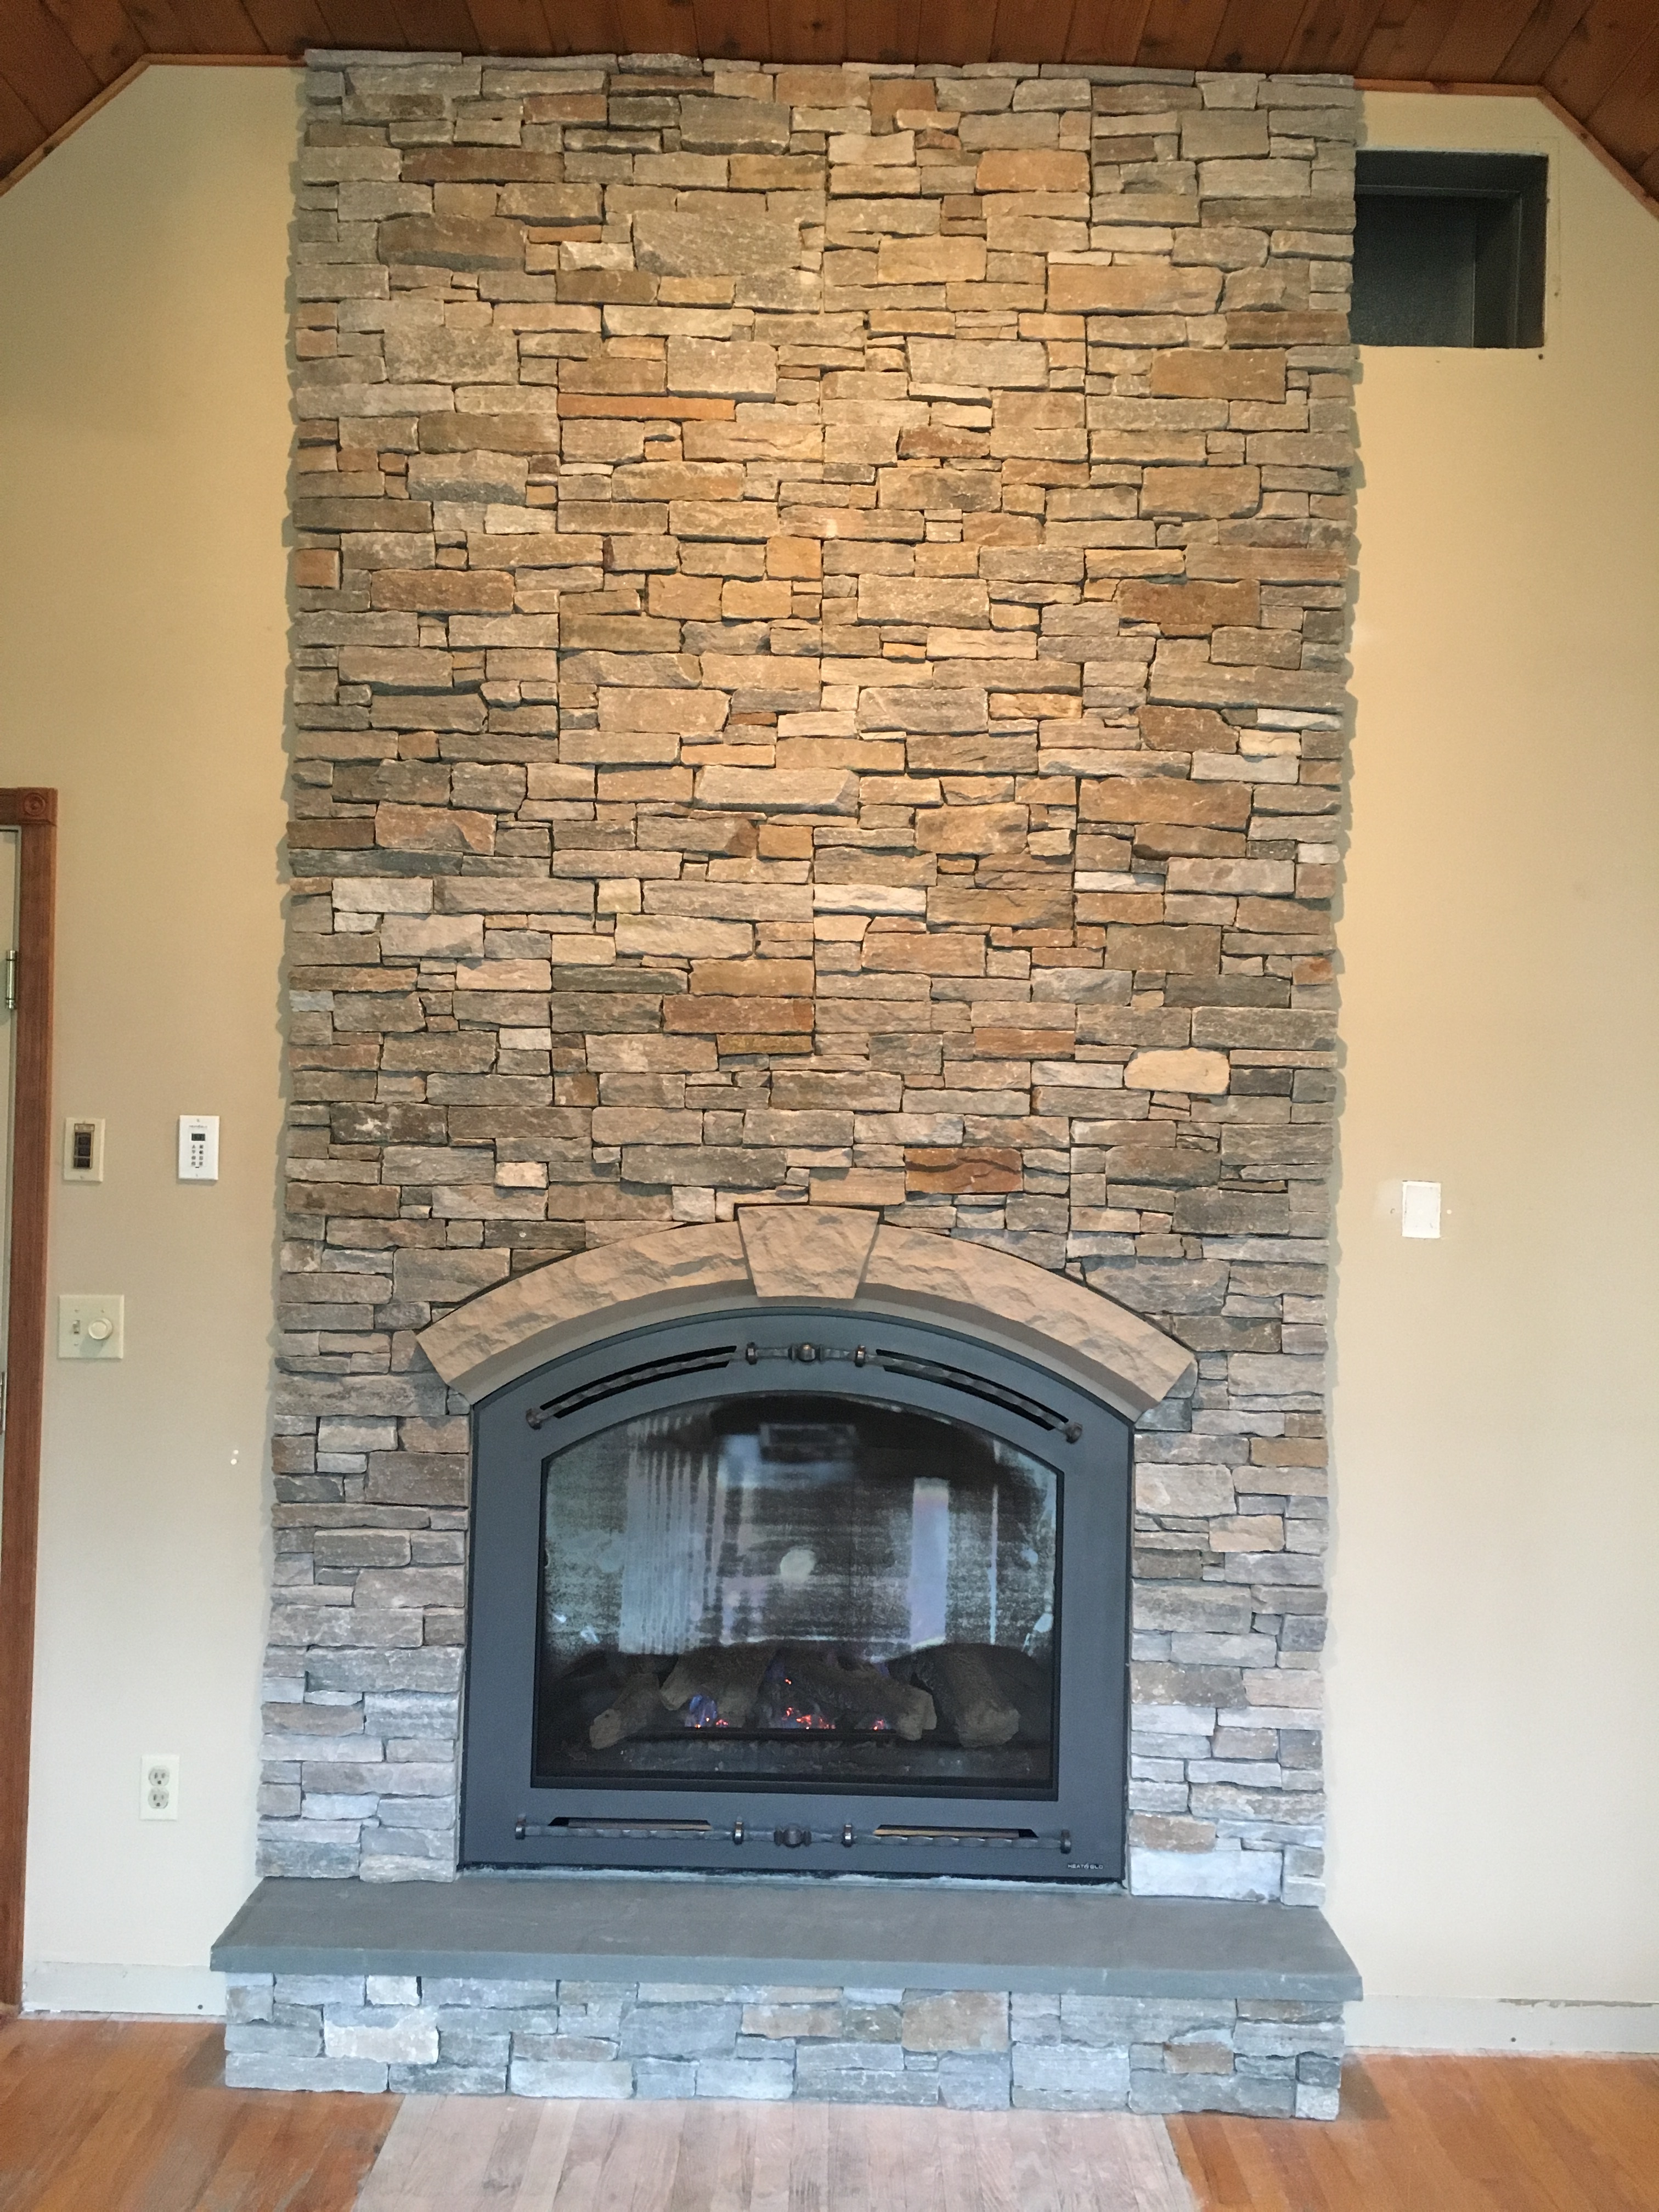
42" Gas Fireplace - Cerona, Stratford
Customer came in inquiring about a arched gas fireplace being installed in their living space.
 |
 |
 |
Step 1Customer had a pre-existing wood stove that they wanted to remove and replace with an efficient gas fireplace. |
Step 2Black Swan removed wood stove, framed a hole to accept the new fireplace. Also, hearth framing created. |
FinalFireplace installed with proper venting, Stone work completed including the hearth for a finished project. |
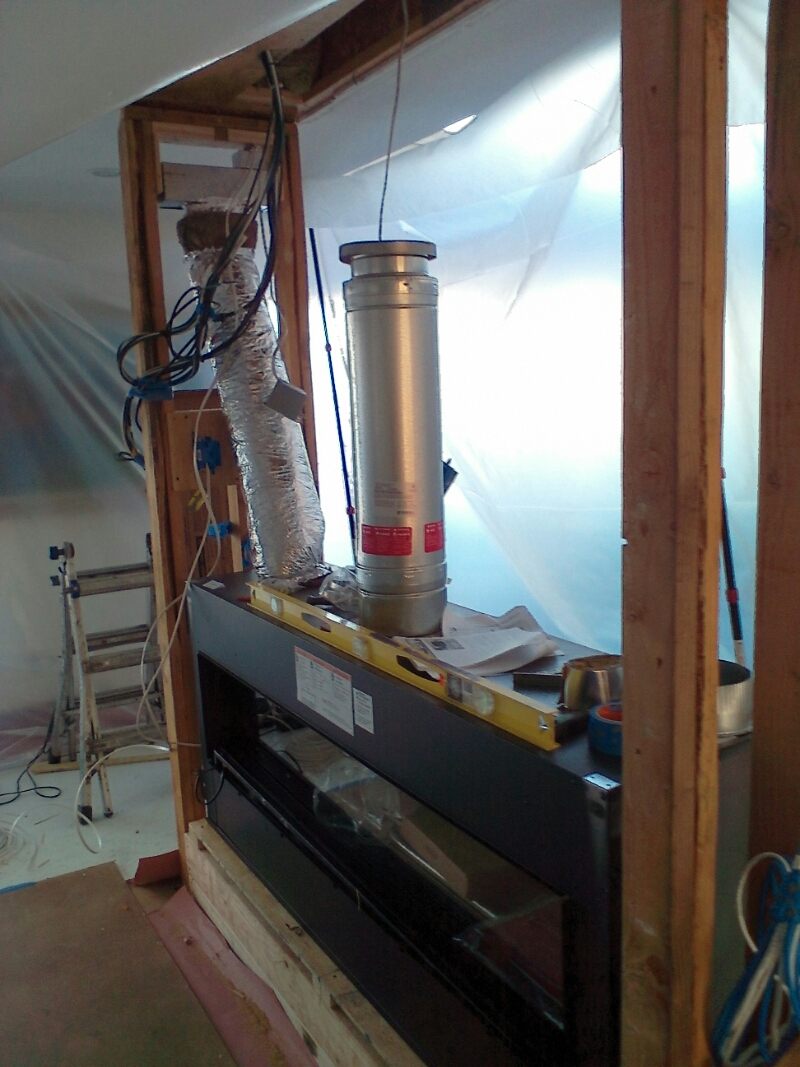
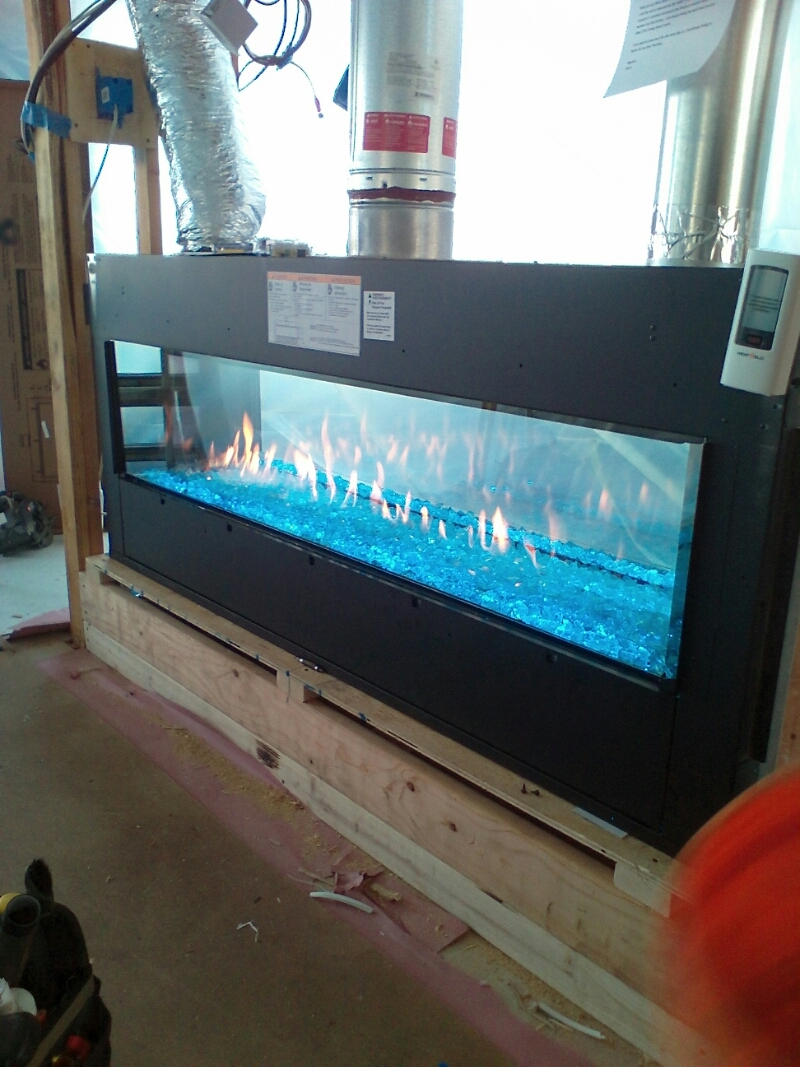
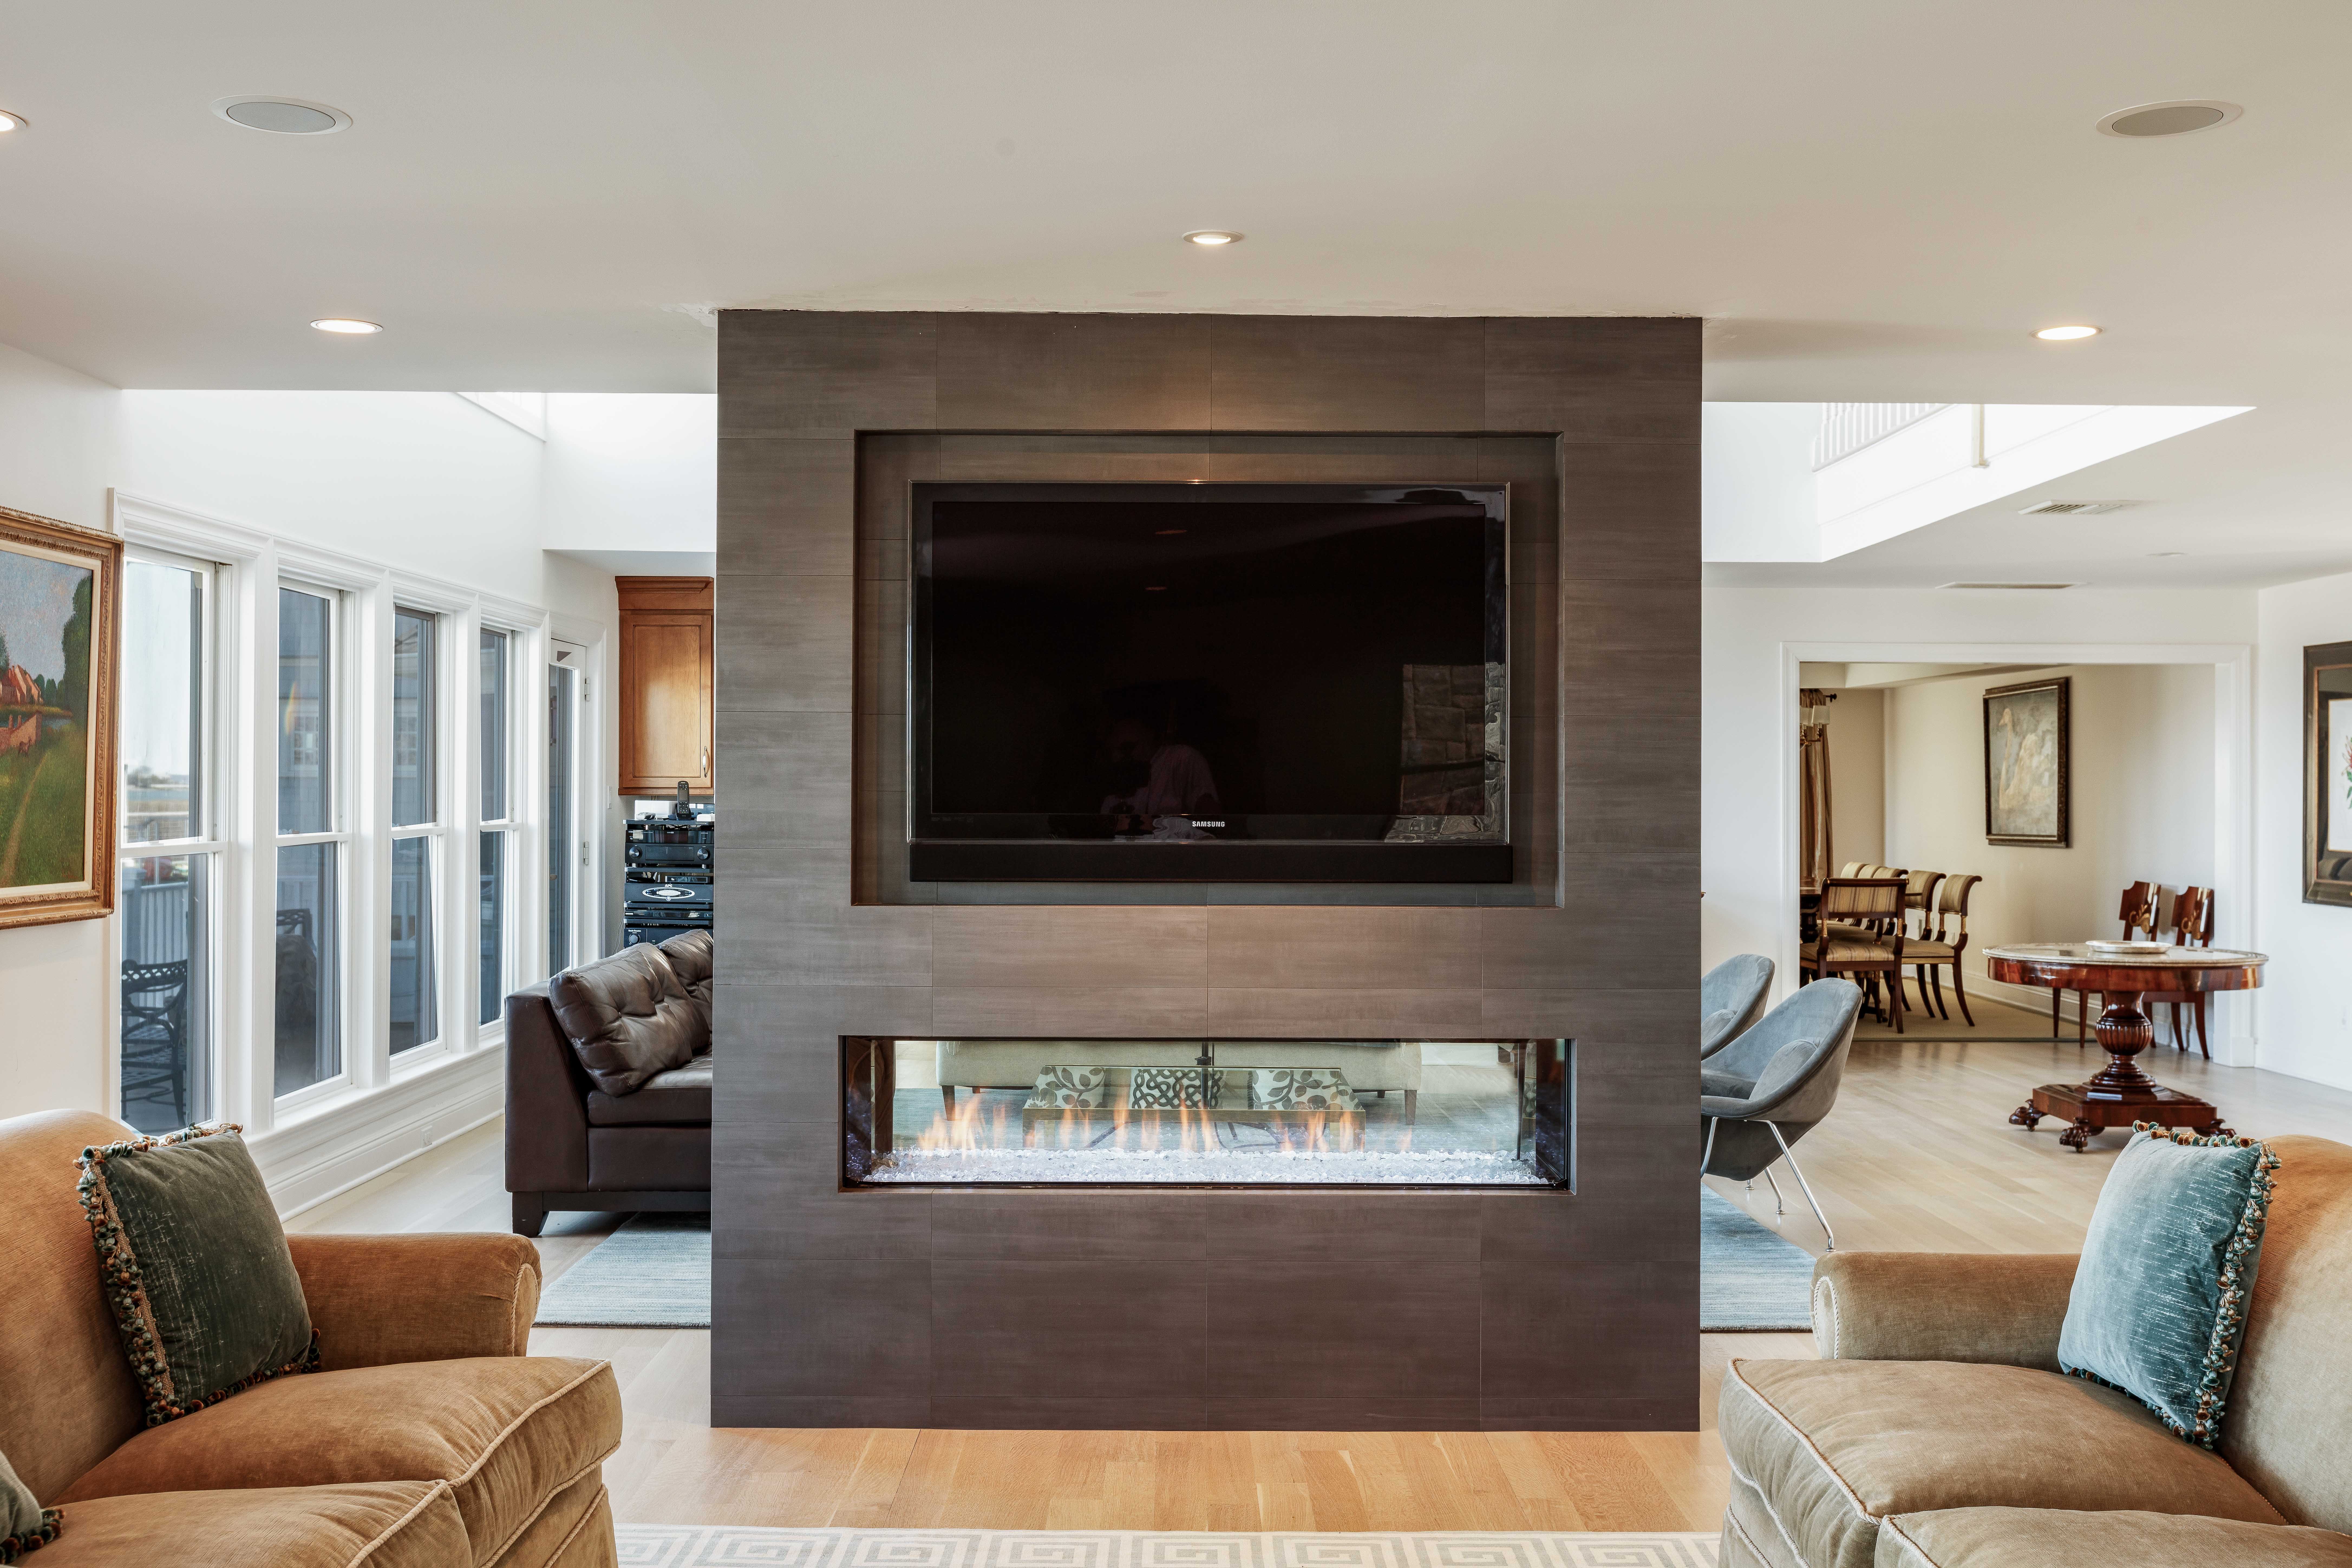
60" See Through Gas Fireplace - Primo 60", Stamford
Customer wanted to add a see through modern gas fireplace in their living space. They came to Black Swan and fell in love with the Primo 60” fireplace
 |
 |
 |
Step 1Unit and framing installed. Venting the unit has begun. |
Step 2Venting completed. Unit turned on to make sure everything runs properly. |
FinalFraming completed with finishing touches added for a completed project. |
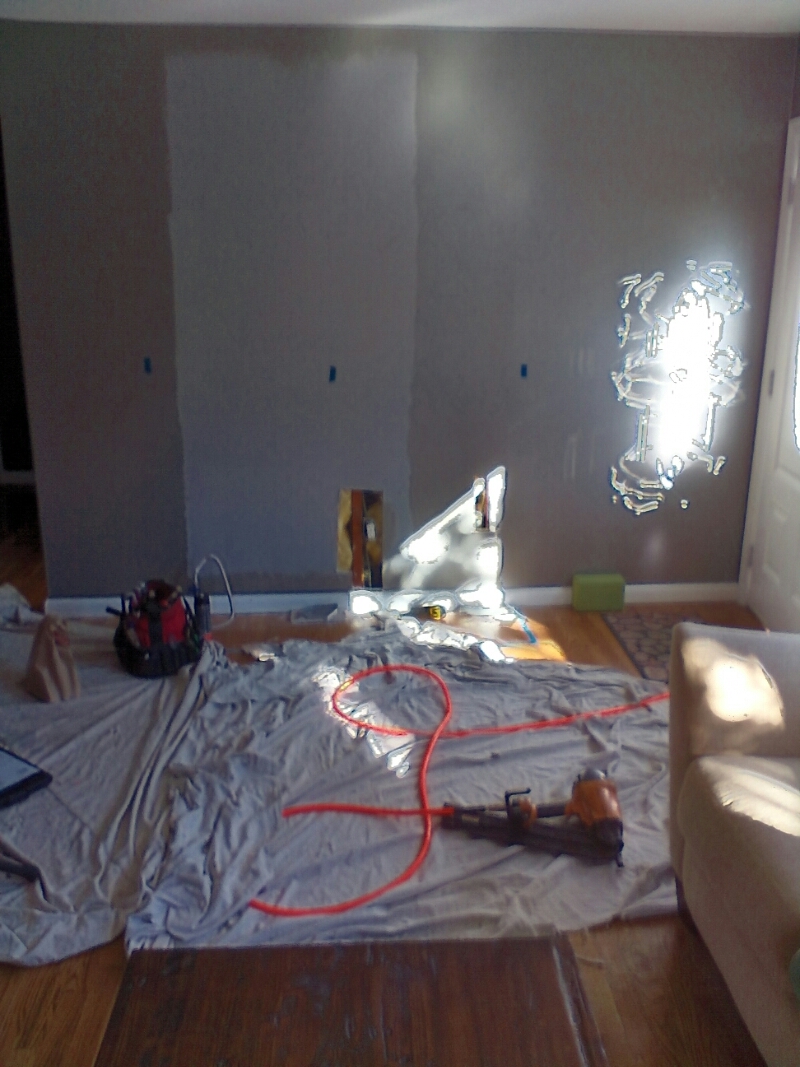
36" Gas Fireplace - Slimline 7X, Brookfield
Customer wanted to add an efficient gas fireplace to their living room.
 |
 |
 |
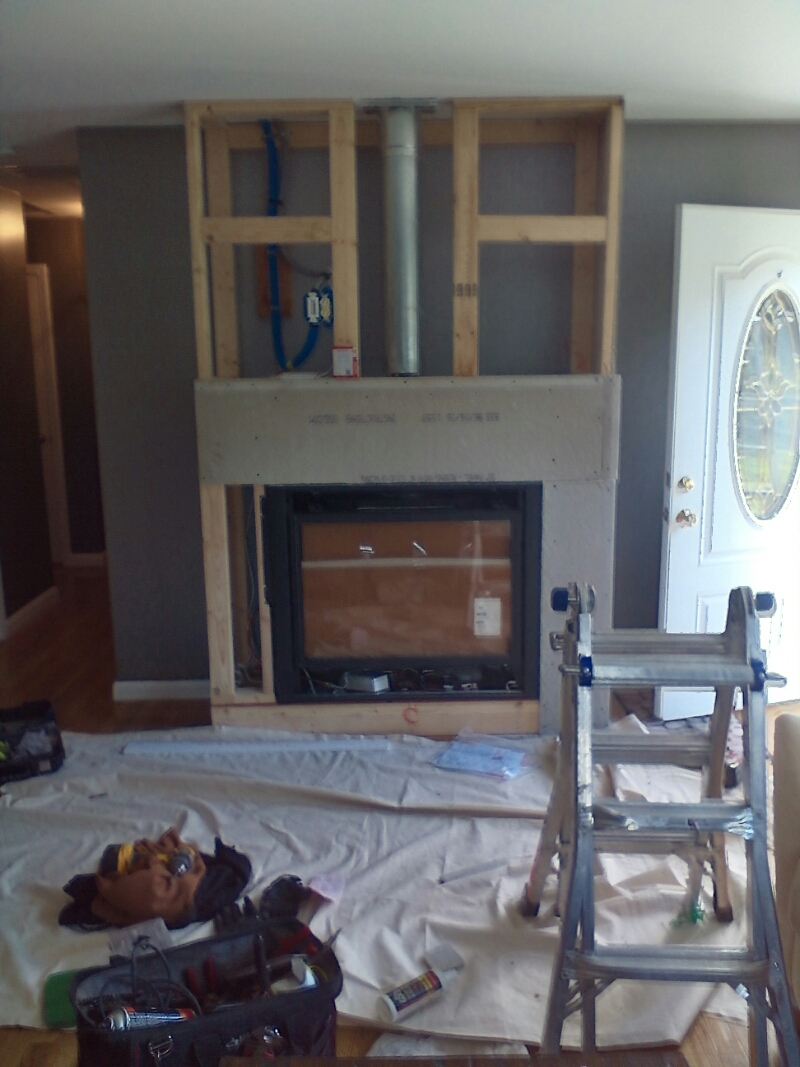
Step 1Preparing the wall space for framing and venting of the unit. |
Step 2Unit and venting installed. Sheet rock started to prepare for stone work. |
FinalUnit front, stone work and TV added for a finished project. |
Project Name
This is where a short description will go. What do you think?
 |
 |
 |
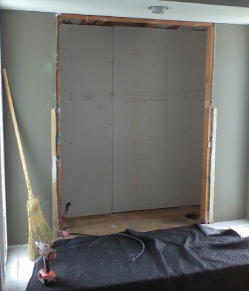
Step 1This is where you will add a detailed description. |
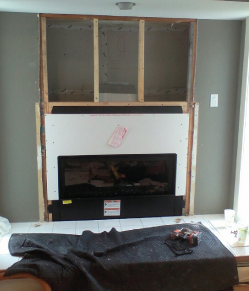
Step 2This is where you will add a detailed description. |
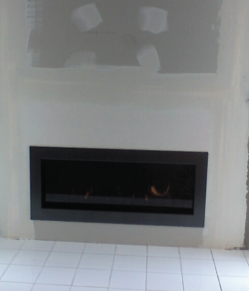
FinalThis is where you will add a detailed description.
|
