Step by Step Guide: How You Can Add Gas Logs to Your Fireplace
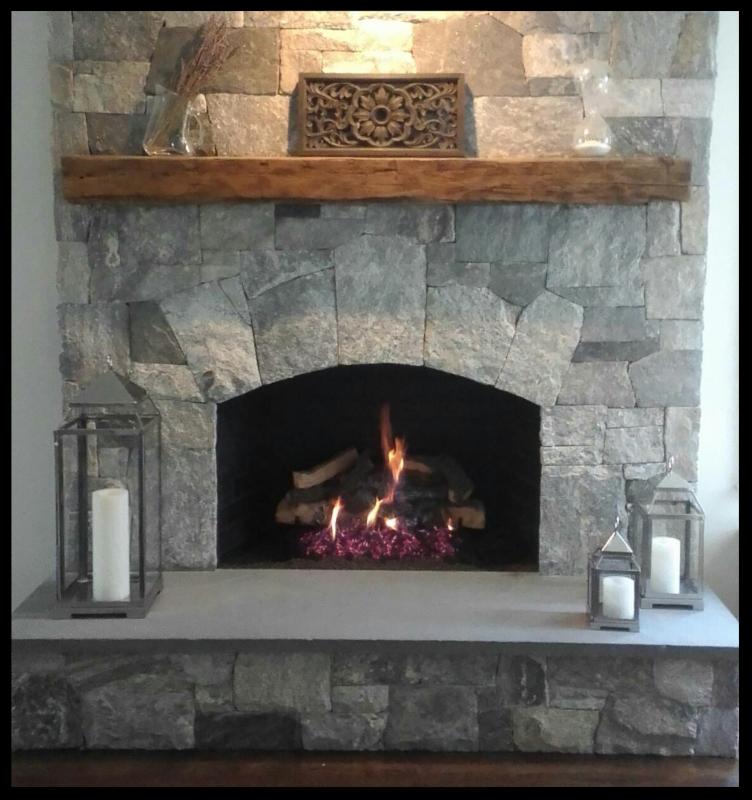
There are so many reasons why you would want to update your firebox to a gas log application. A gas log set can improve the appearance of your fireplace, provide more heat throughout the winter, and reduce the time and money you spend dealing with a wood burning fireplace.
If your wood burning fireplace hasn’t been upgraded for gas burning logs, you’ll need to have a gas line installed prior to installing a new gas log set. For safety reasons, call a professional to install the gas line.
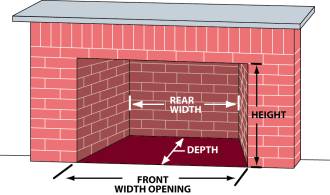
Step 1 Measure the fireplace’s footprint.
- 1) the width of the back wall,
- 2) the width of the front opening, between the inside walls,
- 3) the depth from the back wall to the front opening
- 4) the height – from top to bottom

Step 2 Get your fireplace ready with gas.
If you currently have gas, we need to know if you have liquid propane or natural gas. Also, the gas line must be run to the fireplace. If you do not have gas, you must have a gas line installed prior to installing a new gas log set.
Step 3 Take Pictures
It is always helpful to have pictures of your fireplace. Many times a sales person can spot something in a picture that may be able to help the project flow more smoothly. So take a few pictures from different angles, and especially take pictures of anything that you perceive to be troublesome.

Step 4 Choose your Log Set Style
Although the burner has to be sized according to the firebox to avoid overheating of the valve system, the design of the logs will allow you to somewhat customize the look for your decor.

Step 5 Enjoy your brand new fireplace


